THE GIRAFFE’S TIPS
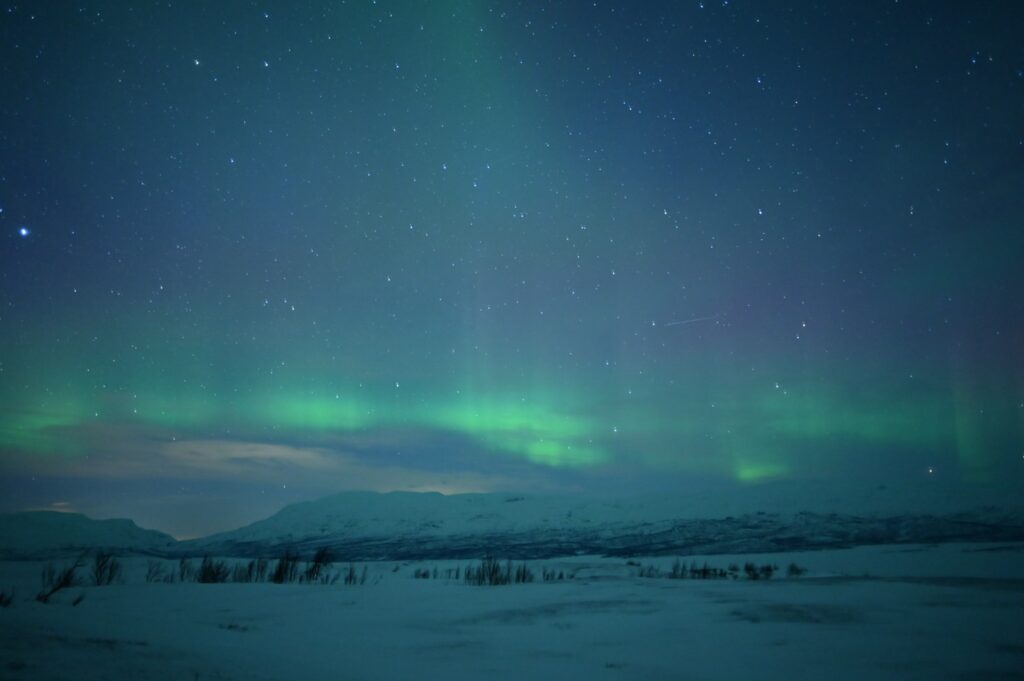
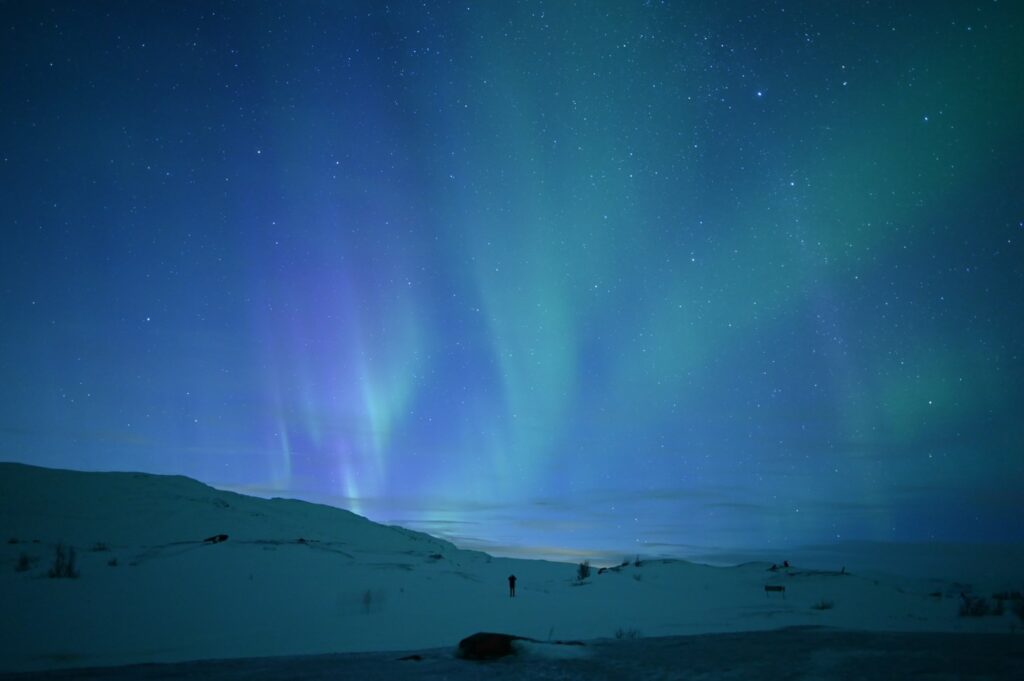
When we went to Finnish and Swedish Lapland, we were hoping to see the Northern Lights. And of course, we also hoped to be able to take photos of this exceptional phenomenon. So, we did a lot of research on the ideal photography equipment, the settings to use, and also how to maximize our chances of seeing the Northern Lights.
We’re sharing all of this with you!
 We are François and Benjamin, Canadian and French giraffe hairstylists and travel enthusiasts. On this blog, discover our travels, tips, moods, and everything you need to become a giraffe hairstylist and embark on travelling the world. An honest blog with photos guaranteed 100% unfiltered and untouched. |
What photography equipment is needed to capture the Northern Lights?
To capture images of the Northern Lights, you will need specific equipment. While smartphone sensors have made incredible progress in recent years, using a smartphone in this particular case is not highly recommended. You might end up very disappointed with your photos and unable to capture the beauty of what you witnessed.
We advise you to consider using a DSLR or a mirrorless camera. Not only will the sensor be much better, but these cameras also offer advanced manual control, which is essential for adjusting settings according to the conditions you’ll face.
When it comes to Northern Lights, it usually means cold and obviously, nighttime. A good weather-sealed camera will offer you the best chances of protecting your equipment against condensation risks due to moisture. Especially considering you might spend long hours waiting in negative temperatures.
The choice of the lens is also crucial. If possible, go for a wide-angle lens (between 14mm and 35mm, for example) with a large aperture (f/2.8 or lower) to allow the maximum amount of light to enter the camera. Of course, all of this comes at a cost. Lenses with a wide aperture can cost several hundreds or even thousands of euros. It might be unnecessary to buy such an expensive lens if you plan to use it only for this purpose. Renting a lens (as well as a camera) from specialized shops for a week or more is also an option: you can find these shops in most cities and online.

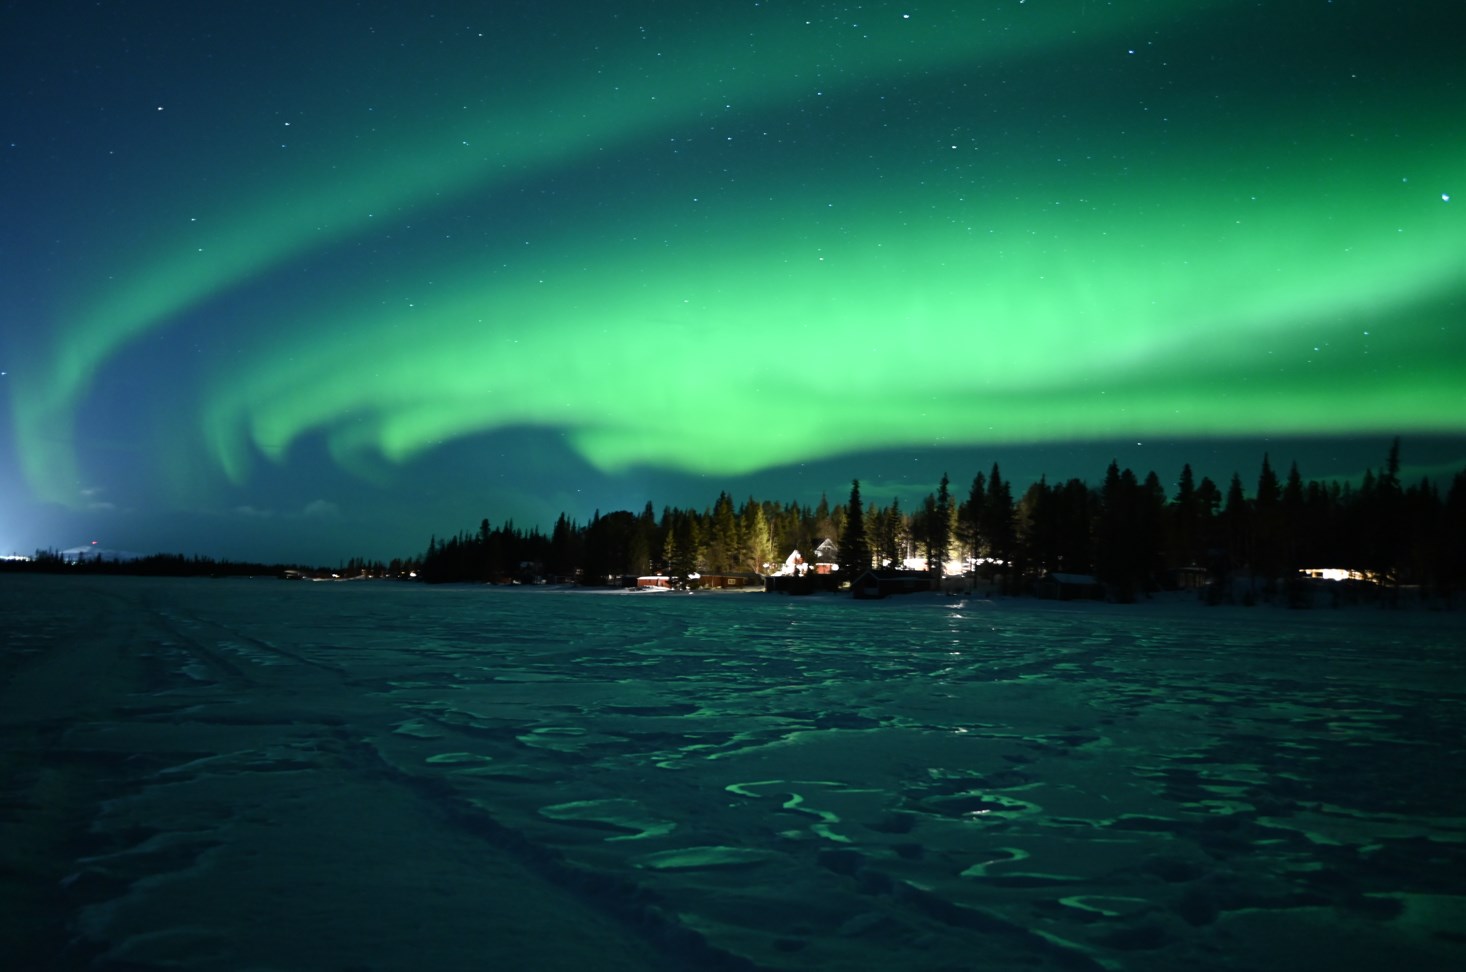
Not to worry: if your lens has a larger minimum aperture, like f/4.5 for example, you can still take beautiful photos. Naturally, it won’t let in as much light, but if the auroras are very strong, it won’t really be a problem. In Sweden, one night, the auroras were so intense (and fast) that we had the opposite problem: we were unable to capture the auroras and ended up with photos that were way too bright! But what mattered most was witnessing such a spectacle, one of the most incredible things we’ve ever seen in our lives.
Beyond the camera and lens, we recommend not forgetting a few accessories. Firstly, a sturdy tripod is essential to prevent motion blur during long exposure shots. You won’t be able to take handheld photos. You’ll need to use a tripod. If it’s windy, we advise attaching a heavy weight (for instance, a bag) at the bottom of the tripod to stabilize it further.

We also recommend using a remote control to trigger the camera without touching it, minimizing any unwanted vibrations. If you don’t have a remote control, you can use your camera’s self-timer (minimum 5 seconds), which will have the same effect of reducing vibrations.
Lastly, remember that the cold can quickly drain your camera’s battery. And sometimes, you might have to wait for the Northern Lights for hours… So, having a spare battery is definitely a good idea. It would be a shame to run out of battery just as the auroras finally make an appearance!
What Settings to Use for Photographing the Northern Lights?
To get the clearest and brightest images of the Northern Lights, use the manual mode (M) on your camera. Set the aperture to the widest possible, which is the lowest number, like f/2.8. This will capture as much light as possible in the darkness.
The shutter speed (exposure) should be set to around 5 to 20 seconds, depending on the brightness of the auroras. We recommend experimenting based on the intensity of the Northern Lights. The weaker and less bright the auroras are, the longer the exposure should be.
Similarly, adjust the ISO to a high value, usually between 800 and 3200, to capture more light. However, be cautious not to push the ISO too high, as it can result in noise (grainy effect) in your photos. We used a good-quality camera and lens, but it’s not professional equipment. Therefore, we had to go up to around 2000 ISO. We do not plan to print our photos in very large formats, but for an A4/Letter print, it’s quite acceptable.

The focus must be set manually. In a very dark environment, light levels are much lower than what the camera can detect in automatic focus mode. Consequently, the camera might struggle to focus and will ‘hunt’ indefinitely. Therefore, manual focus is necessary.
Depending on the model, the manual focus option can be found either on the camera body or directly on the lens. Turn the focus ring of your lens to infinity (∞) or slightly before to ensure stars and auroras are sharp. This setting is probably the most complex, and we recommend conducting several tests on the starry sky to ensure your photos are sharp. Once set, avoid adjusting it further.
If your camera allows it, activate noise reduction to improve the quality of your images, especially during high ISO shots. Note that this noise reduction requires processing time after each photo. With the camera we used in Sweden (Nikon Z5) and our settings, the noise reduction took approximately the same time as the exposure. So, for a photo with an 8-second exposure, you had to wait an additional 8 seconds before seeing the result and being able to take the next photo!
Finally, it’s often recommended to shoot in RAW format if your camera allows it because it gives you greater flexibility in post-production to adjust exposure and color balance. As we committed, none of our photos were retouched in post-production, and we used screenshots of our JPEGs in all our articles. But if you plan to edit your photos using software, shooting in RAW is preferable.
Our Tips for Observing the Northern Lights
Location is crucial for photographing the Northern Lights. Get away from city lights to avoid light pollution that can spoil your images. Do you need to go with an organized tour to see the Northern Lights? We’ve never paid an organization to go Aurora hunting. These tours are often quite expensive (often several hundred euros per person). If you’ve rented a car and are comfortable driving at night, you should be able to manage independently. Especially since tours have specific schedules, and you won’t know in advance if the auroras will be visible at 11 pm or at 2 am.
Here’s what we did, both in Sweden and Finland. During the day, we scouted places that seemed strategic for observing the Northern Lights: a frozen lake, a remote area far from city lights, etc. Sometimes, after nightfall, we faced disappointments (lights we hadn’t seen during the day), but with a car, you’re mobile enough to change locations.
Whether in Luosto (Finland) or Kiruna (Sweden), the towns are small, and you quickly find yourself in the countryside, just a few kilometers away. But remember to move away from the road you arrived on; otherwise, you’ll have all the lights from passing cars…
Patience is also crucial because the Northern Lights are unpredictable and can appear at any moment. Enjoy these long hours of waiting to fine-tune your photo settings and appreciate the calm and silence: even without Northern Lights, a starry sky is still beautiful!
Of course, if the sky is overcast, the chances of observation are greatly reduced. Keep an eye on the weather and also install apps that indicate the probabilities of Northern Lights (the famous Kp index, which measures Earth’s geomagnetic activity from 0 – very low geomagnetic activity – to 9 – extremely high geomagnetic activity).


Keep in mind that apps and the Kp index aren’t perfectly reliable sources. It’s possible for geomagnetic activity to be very high but the auroras to be invisible (due to cloudy skies, for example). That’s why it’s crucial to try your luck as often as possible (it takes courage to go out every night!) and for as long as possible (don’t give up after just a short half-hour).
If the sky is hopelessly dark, don’t lose hope and take photos. Camera sensors, especially with a long exposure time (10 or 20 seconds, for instance), can detect faint Northern Lights better than the human eye. If your photo shows a greenish hue, the Northern Lights are indeed there. With a bit of luck, their activity will eventually intensify, and you’ll get to enjoy the spectacle. And of course, turn off your flash!
Contrary to what photos might sometimes suggest, Northern Lights are (more or less) mobile and (more or less) fast. Therefore, don’t hesitate to take as many photos as possible. With a remote control, you won’t even need to constantly watch your camera. You can enjoy the show while capturing what you see. And you’ll notice that it can change very quickly!


And since you’ll inevitably feel cold, we advise you to bundle up (find all our tips for dealing with cold weather during your travels) and stay close to your car. If you’re braving temperatures around -10°C or -20°C, it might be important to warm up occasionally in the car and snack a bit to keep your energy up!
We hope these tips will help you better prepare to capture stunning photos of the Northern Lights. But above all, our most important advice is not to focus too much on taking photos. Yes, we love capturing moments when we travel, but witnessing such a spectacle is an incredible opportunity, and the moment can last for hours or only a few minutes. It would be a shame to spend your time staring at your camera screen.
On the night when the Northern Lights were so intense that our photos turned out too bright, we decided to set the camera aside and sat in the snow, gazing at the sky tearing apart, dancing, and blazing above our heads. A moment of rare intensity.
So, don’t forget to enjoy the experience!
Find our other articles with all our tips for successful travel photography:


