THE GIRAFFE’S TIPS
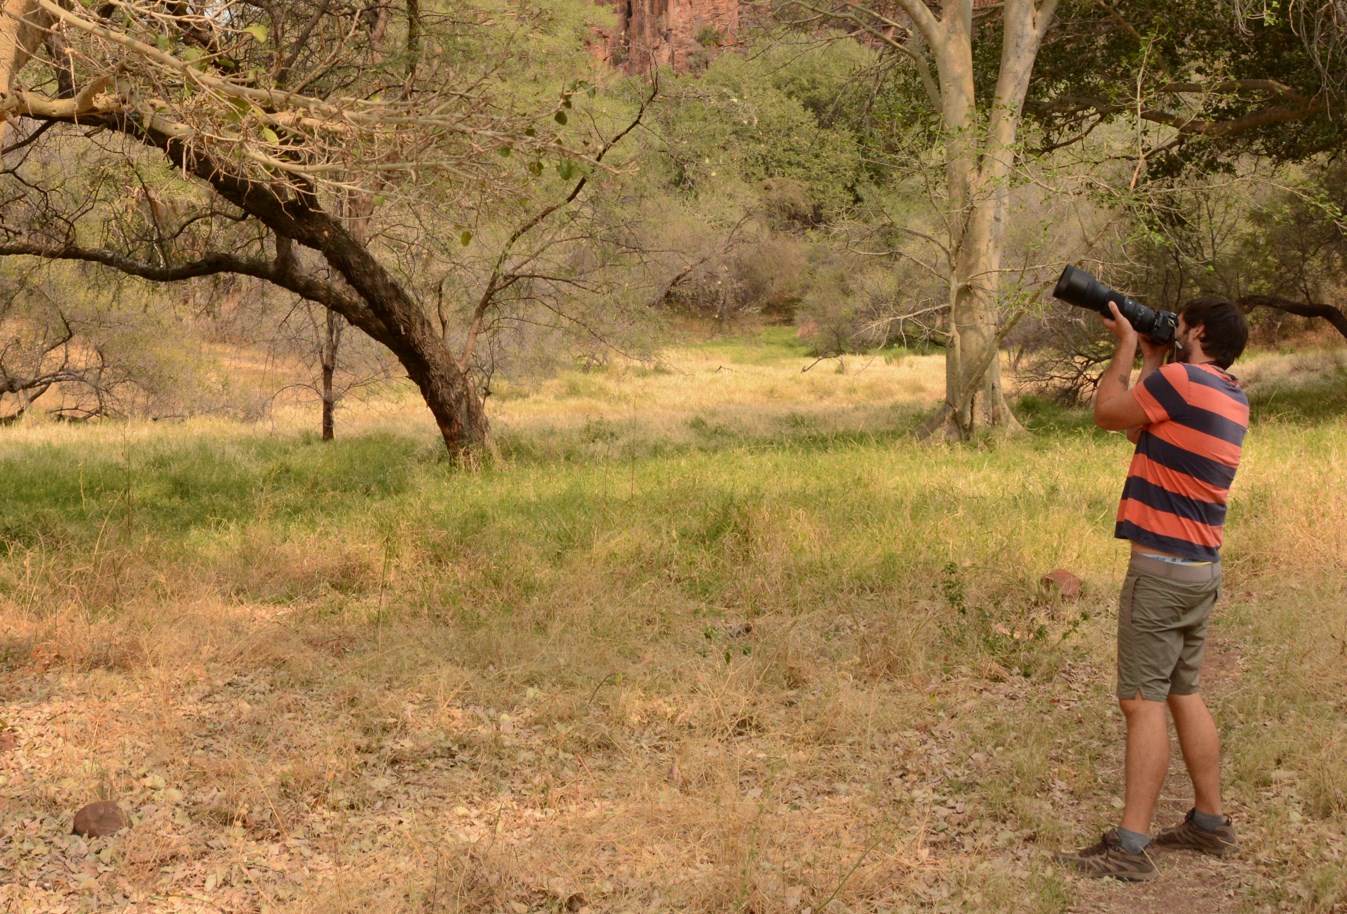
Whether you’re an experienced photographer or simply seeking stunning mementos of your travels, the choice of photography equipment is crucial to capturing the unforgettable moments of your discoveries.
For us, photography is an essential element in our way of traveling. It allows us to better appreciate what we discover (when taking photos, we pay more attention to details, specificities of a place, etc.). It also offers us memories that we can share and cherish years later, reminding us of our past travels. That’s why we include so many photos in our articles!
We’ve prepared a guide to help you select the ideal equipment based on your type of travel: mixed travel, night photography, portraits, urban getaways, stays in tropical areas, snorkeling, mountain or desert expeditions. Here are our recommendations to assist you in choosing the most suitable photography equipment for your journey.
 We are François and Benjamin, Canadian and French giraffe hairstylists and travel enthusiasts. On this blog, discover our travels, tips, moods, and everything you need to become a giraffe hairstylist and embark on travelling the world. An honest blog with photos guaranteed 100% unfiltered and untouched. |
1. Mixed Trips
For mixed trips encompassing city visits, monuments, countryside, and more, versatility is key. We aim to capture architectural details (which require zooming) as well as landscapes (which, on the contrary, need the widest angle possible). Many travelers use their smartphones. A quality smartphone camera can do the job, offering portability and ease of use. Of course, the quality won’t match that of a DSLR or mirrorless camera.
If you have a dedicated camera, it’s better to opt for a variable focal length lens (commonly known as a zoom lens). Specifically, we recommend a superzoom (meaning a high zoom range, around 10x), for instance, a 20-200mm or an 18-300mm lens. This allows you to capture both wide scenes (at around 20mm) and architectural details (at around 200mm) without changing the lens.
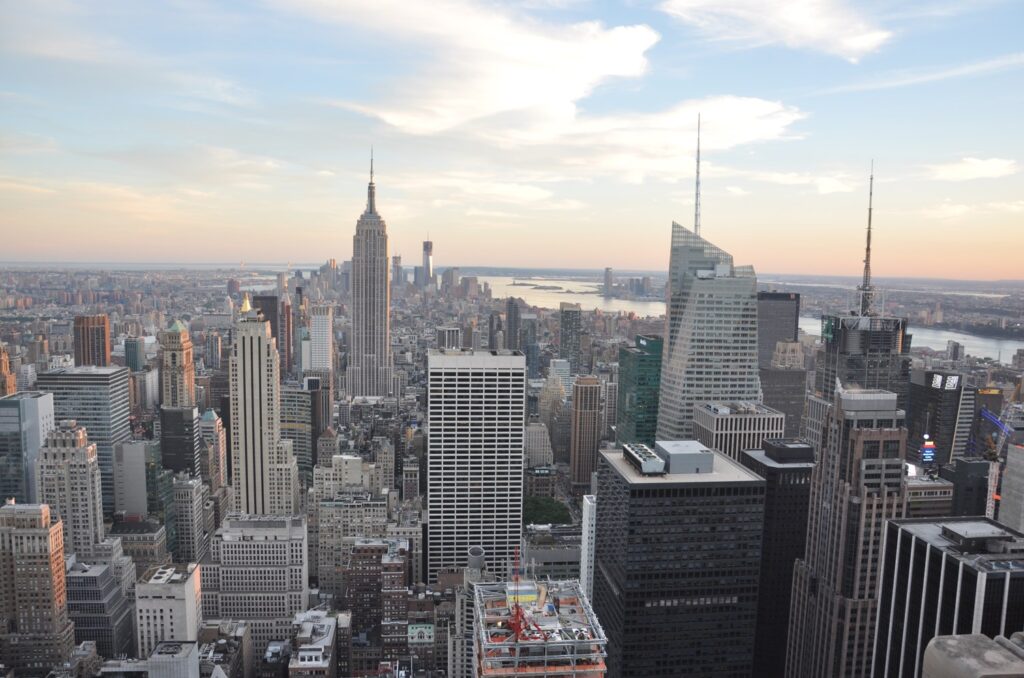

You can go with just one camera and one lens. Of course, it adds weight (around 1kg) and comes at a price (several hundred euros, or more), but the photo quality and versatility of the equipment make it worthwhile. Even high-end smartphones still struggle to seriously compete with this kind of gear in more challenging conditions (such as low light or heavy zooming). Plus, the quality will be better if you plan to print your photos.
The Giraffe recommends: A high-end smartphone. Better yet, albeit more expensive: a DSLR or mirrorless camera with a superzoom (e.g., 20-200mm).
2. Night Photography
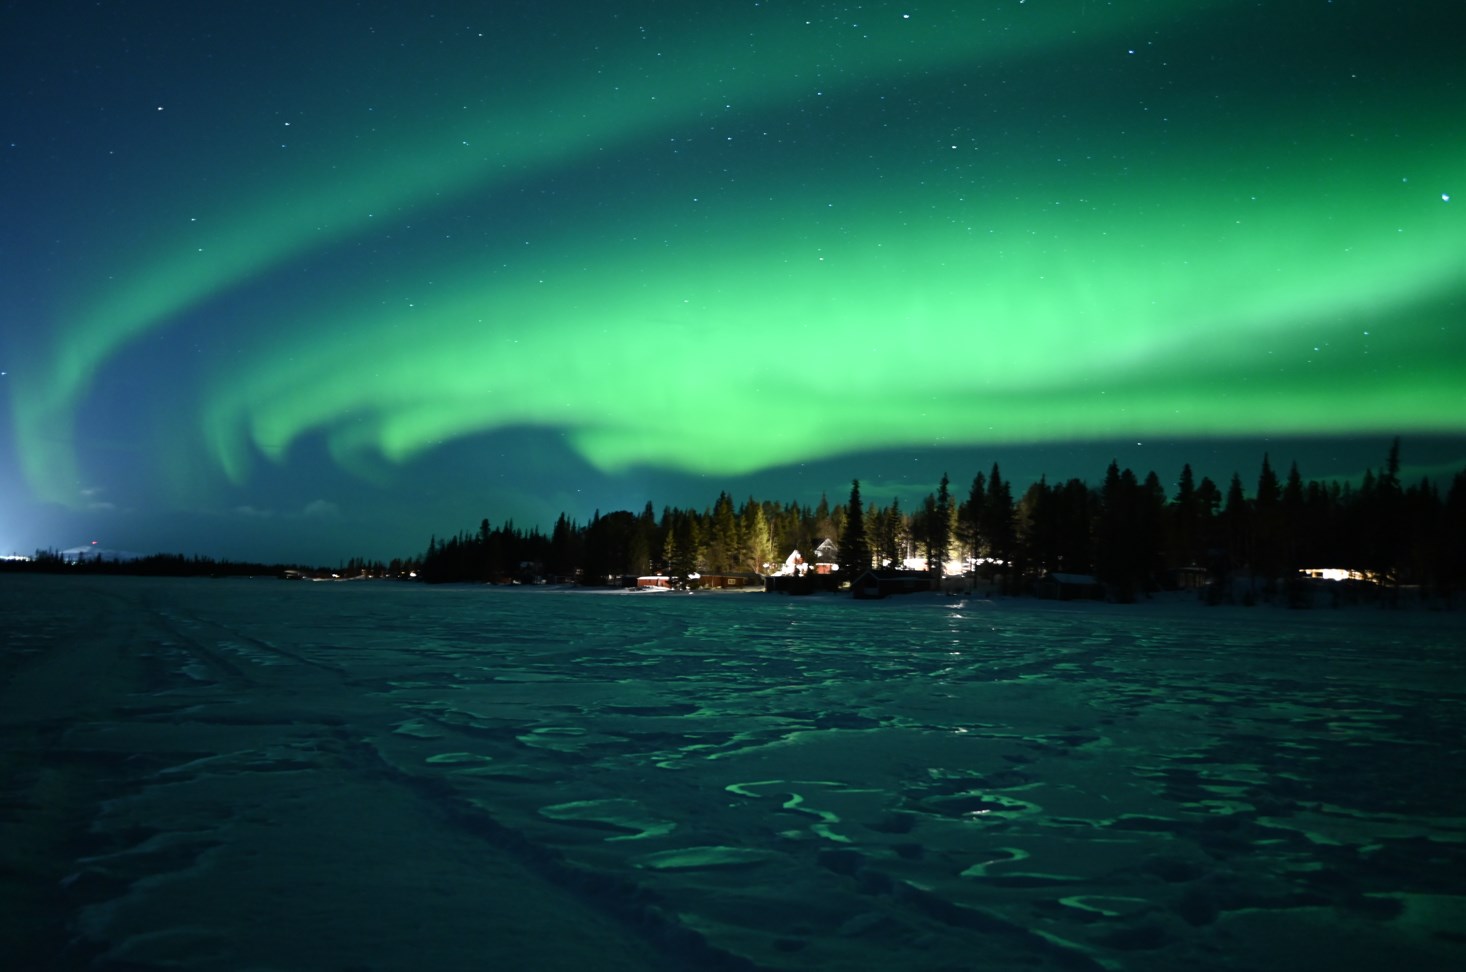
When traveling, you’re often prompted to take night photos, whether it’s to capture the Milky Way from the Southern Hemisphere or the moment of sunrise or sunset at temples. However, night photography is a demanding discipline that requires a deep understanding of exposure and specific lenses. To capture the beauty of nocturnal landscapes or create portraits illuminated only by ambient light, the choice of equipment is crucial.
In night photography, the lens aperture plays a crucial role. We recommend opting for a lens with a wide aperture, such as an f/1.8 or lower focal length. This aperture allows more light to reach the sensor, which is essential for capturing sharp and bright night images.
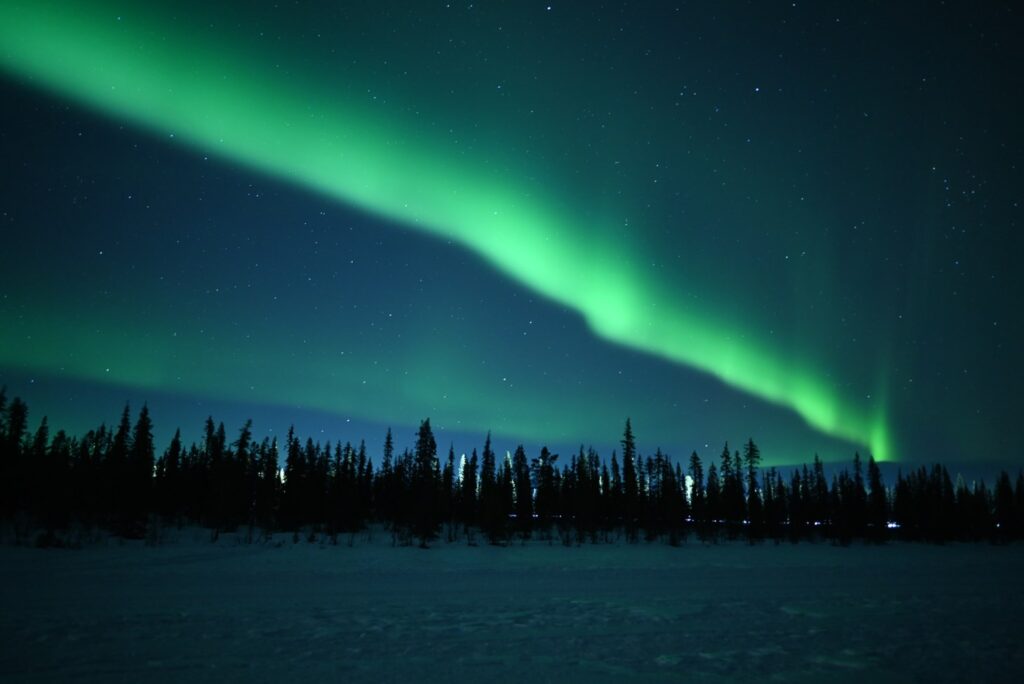
For optimal sharpness, use a sturdy tripod to stabilize your camera as longer exposures are common in night photography. If you plan to capture nighttime landscapes, opt for a wide-angle lens to capture more details in the starry sky.
Of course, there’s no need to invest in this gear if you’re taking night photos in brightly lit major cities (unless you’re aiming for specific effects). A standard zoom lens is sufficient for capturing beautiful shots of places like Times Square or even the sparkling Eiffel Tower.
The Giraffe recommends: A mirrorless or DSLR camera with a wide aperture lens (e.g., 35mm f/1.4) and a sturdy tripod.
3. Portraits
Many travelers love capturing portrait shots. It’s true that faces and individual expressions can offer an ideal playground for photographers. However, it’s not the type of photography we typically do. Besides the gear, it’s important to feel comfortable and not hesitate to interact with people to ask if they’re okay with being photographed. And we feel a bit shy about doing that!
A prime lens is the favored choice for portrait photographers. Opt for a fixed 50mm f/1.4 lens or something similar. This aperture (marked as ‘f/’ on lenses) creates an elegant background blur (known as the bokeh effect) that beautifully isolates your subject, highlighting every detail of the face. These lenses can often be quite expensive. Don’t worry, though—beautiful portraits can still be captured with a wider aperture (e.g., f/4.5), available in more accessible lenses. That said, high-quality smartphones often offer a convincing portrait mode.
The Giraffe recommends: A mirrorless or DSLR camera with a fixed 50mm f/1.4 lens is ideal for portraits. Alternatively, a high-quality smartphone would suffice.
4. Urban Gateways
Urban travels offer a myriad of photographic opportunities, from grand architecture to lively street scenes. To capture these diverse moments, the equipment needs to be versatile yet discreet.
A compact camera (a small mirrorless camera or a high-quality smartphone) is a wise choice for urban getaways.
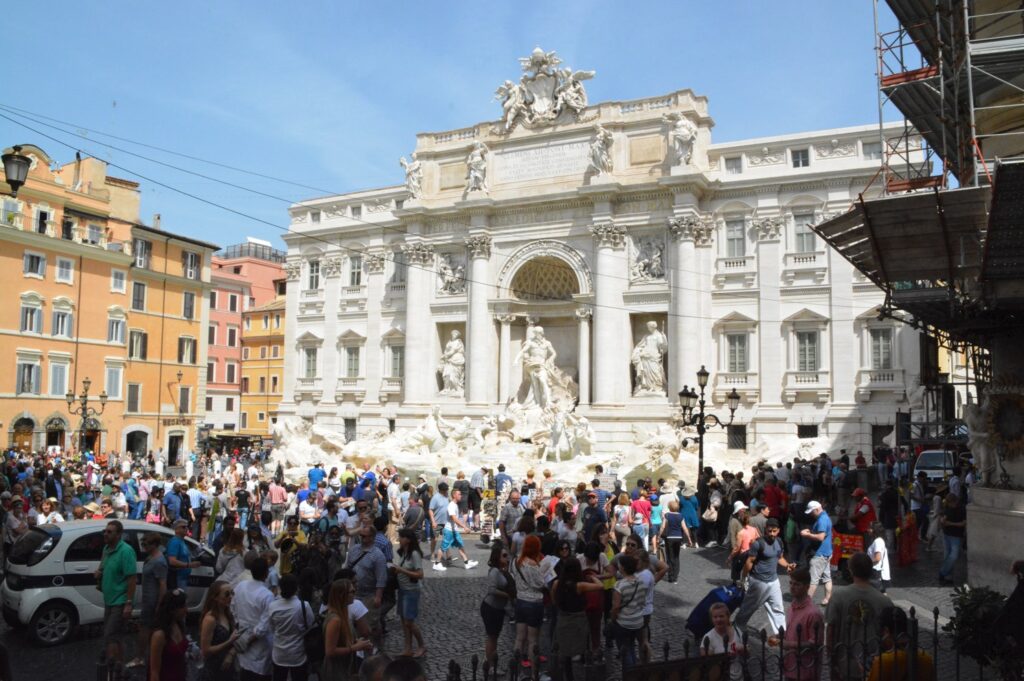
Lightness and ease of use are essential when moving around a city. Discretion is often sought after by photographers. It’s hard to capture a street scene by aiming a huge lens at people! A small mirrorless camera or a very good smartphone adapt perfectly to this requirement, while ensuring quality photos. For a mirrorless camera, choosing a so-called ‘pancake’ lens can be smart in this case. These lenses are flatter than traditional ones. They are also lighter and generally less expensive. You can find them with fixed focal lengths (so it’s impossible to zoom) or with variable focal lengths (for example, 16-50mm).
The Giraffe recommends: Opt for a high-end smartphone. Even better but more expensive: a mirrorless camera with a pancake lens with a variable focal length (for example, 16-50mm).
5. Tropical and Humid Environments
Traveling to tropical regions offers a wealth of landscapes, but humidity can pose a challenge for your equipment. To protect your camera gear and ensure quality images, there are several considerations to bear in mind.
Opt for a weather-sealed camera, designed to withstand moisture and high temperatures (usually around 40°C). It’s essential to shield your equipment from condensation caused by temperature fluctuations. When we traveled to the Brazilian Amazon, we used silica gel packets to absorb excess moisture. It’s inexpensive, lightweight, and helps prevent condensation from forming inside the camera body.
Additionally, having a cloth specifically designed for cameras can help clear fog from your lens. In the Amazon, it took up to 30 minutes for the fog to clear after taking the camera out of its bag… and in that time, you might miss out on capturing amazing shots of sloths, macaws, or tarantulas!

A versatile lens, such as an 18-135mm, enables you to capture the diversity of tropical landscapes, whether it’s the lush forest or the white sandy beaches. You might need to go a bit higher (200mm or 300mm) to capture distant wildlife, but that would mean carrying a bulkier equipment.
The Giraffe recommends: Choose a weather-sealed camera with a versatile lens (18-135mm). Make sure to use a bag or protective cover in case of significant temperature and humidity changes.
6. Snorkeling and Diving
Underwater photography is a unique adventure that requires specialized equipment to capture the underwater wonders. Underwater cameras are designed to resist water and provide good image quality.
The ultimate choice is to equip yourself with a waterproof housing for a mirrorless or DSLR camera. But this would require spending several thousand euros on top of the camera and lens… Only professionals will make the most of this investment.
For most people, there’s a soft version of the housing available. It’s like a big plastic bag where you put your camera. It’s bulky and not very convenient, but the results are quite good. However, be sure to test the housing before each use. Submerge it in a bathtub full of water and make sure there are no leaks. The only time we forgot to do this, it cost us dearly: it was the day the housing decided to crack… The result: a DSLR camera and lens got soaked and died… and some beautiful photos of manta rays that we couldn’t capture!
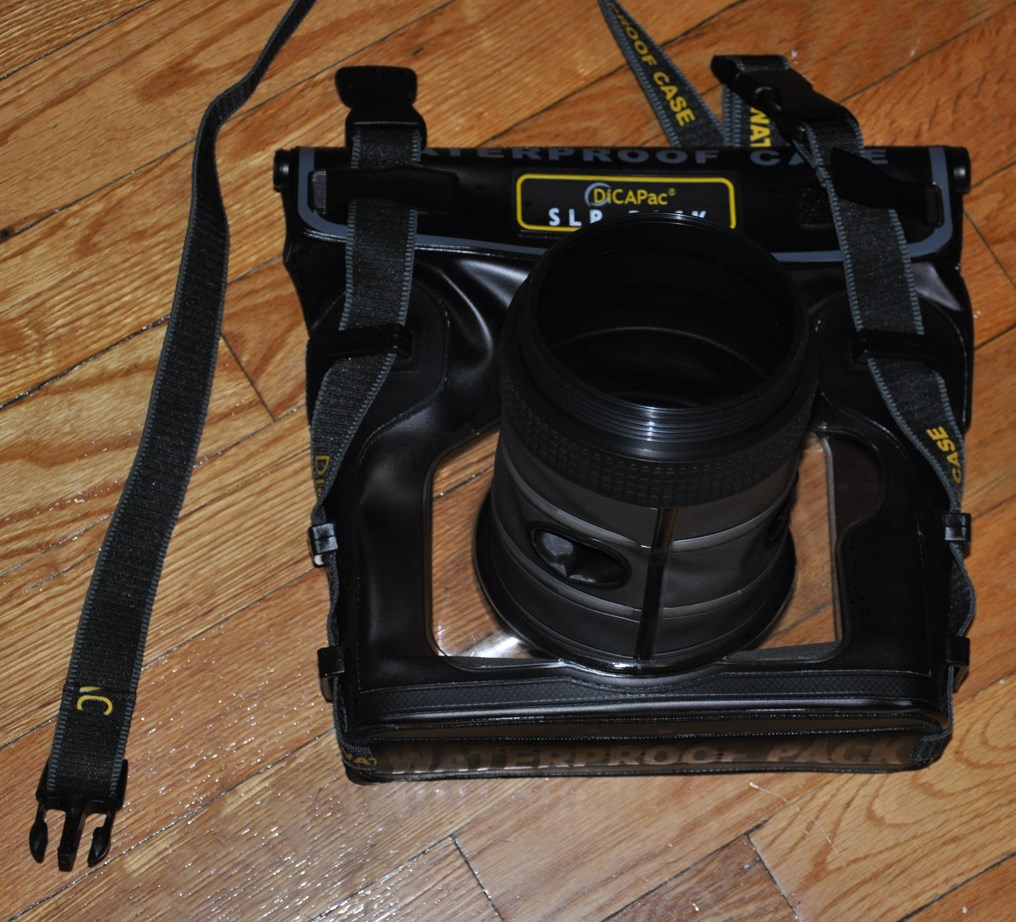
Otherwise, there are some compact cameras that are waterproof up to 10 or 15 meters. This is probably the best option, and it’s the one we used for all our snorkeling photos in French Polynesia. Easy to use but with options (like macro, for example). Don’t expect photo quality equivalent to a DSLR or mirrorless, but the result is entirely acceptable.
If you’re more into videos than photos, the renowned GoPro has proven itself for snorkeling or for diving (beyond about ten meters, you’ll need to add a housing).
When choosing an underwater camera, always make sure it’s suitable for the depth you plan to explore. Additionally, using underwater lighting is often necessary to compensate for the loss of light in the water. You can either use the flash or purchase a separate light (which tends to be bulkier).

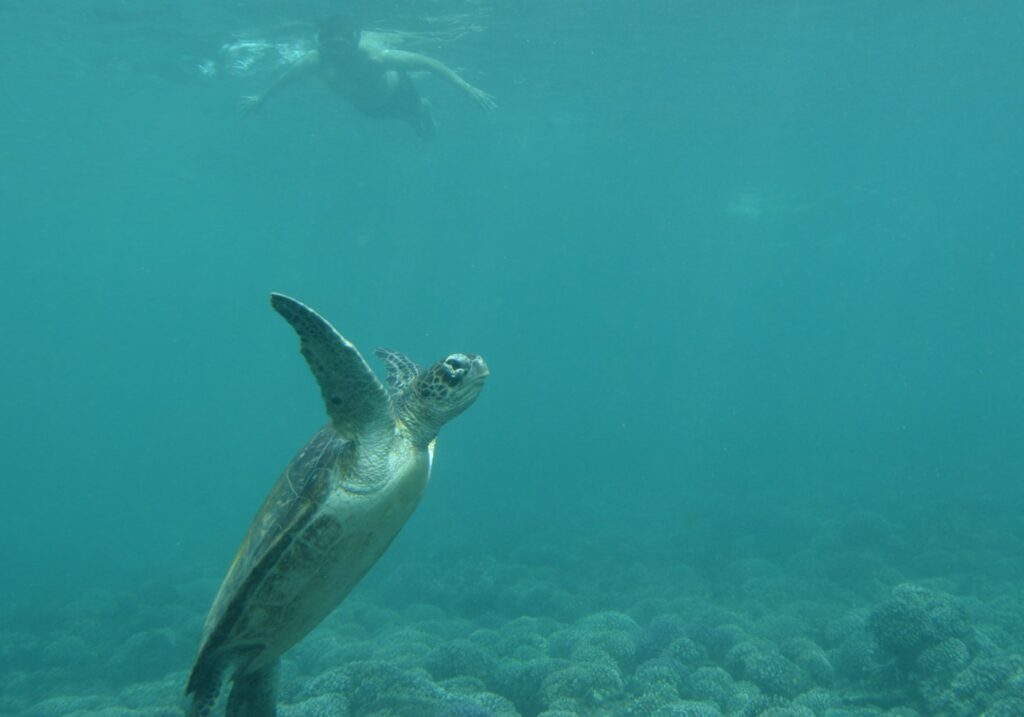
Is using a flash harmful to fish? The only scientific study on the subject indicates that it does not pose a problem. However, let’s remember never to touch the fish. Taking underwater photos is like photographing animals on a safari: just as you wouldn’t touch a lion to make it roar, you wouldn’t try to manipulate a clownfish to make it dance…
The Giraffe recommends: Opt for a compact underwater camera, ensuring its waterproof depth.
7. Mountain Stays or Winter Conditions
Mountain stays offer breathtaking landscapes, but conditions can be tough on your equipment. To capture the majesty of snowy peaks, the equipment needs to be robust and suitable for low temperatures.
Choose a camera resistant to low temperatures and shocks, designed to function in extreme conditions. The vast majority of DSLR or mirrorless cameras ensure proper operation down to 0°C. But rest assured, our gear has survived all our Quebec winters as well as our stays in Finnish and Swedish Lapland. Wide-angle lenses, such as a 16-35mm, are perfect for capturing the expanse of mountain landscapes. A weather-sealed camera can reduce the risk of water infiltration (snow tends to melt and seep into every nook and cranny of the camera body…).

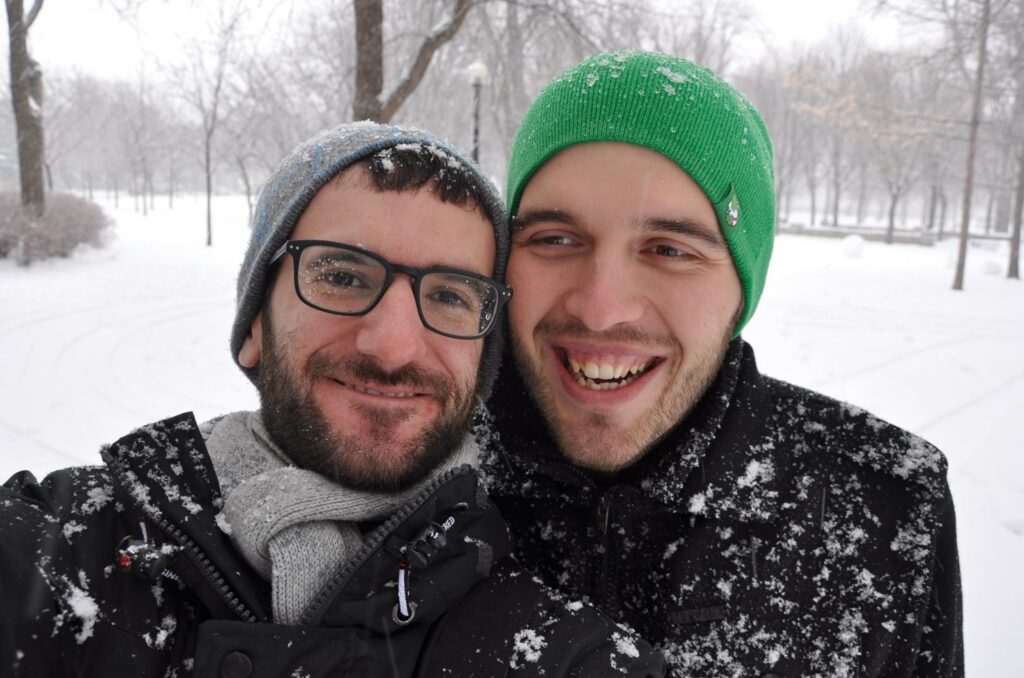
To limit the risks associated with snow, there are also covers available to protect your camera. We tend to use plastic bags, like Ziploc (giant size); it works really well and costs next to nothing.
If your camera suddenly stops working (this has happened to us several times in Quebec, when we were outside for too long in temperatures of -30°C), the simplest thing is to turn it off, put it in the bag, and let it regain its strength. Above all, never try to warm your camera directly by placing it next to a heat source (like a radiator or similar). This would only increase the risk of condensation. When you return to your hotel or chalet, leave the camera in the bag. It will warm up more slowly and safely this way.
The Giraffe recommends: Choose a weather-sealed or rugged all-terrain camera with a wide-angle lens (16-35mm). Pay attention to the risk of condensation.
8. Traveling in Sanding Areas (Desert or Beach)
Traveling in sandy areas, whether in the desert or on white sandy beaches, presents specific challenges for photography.
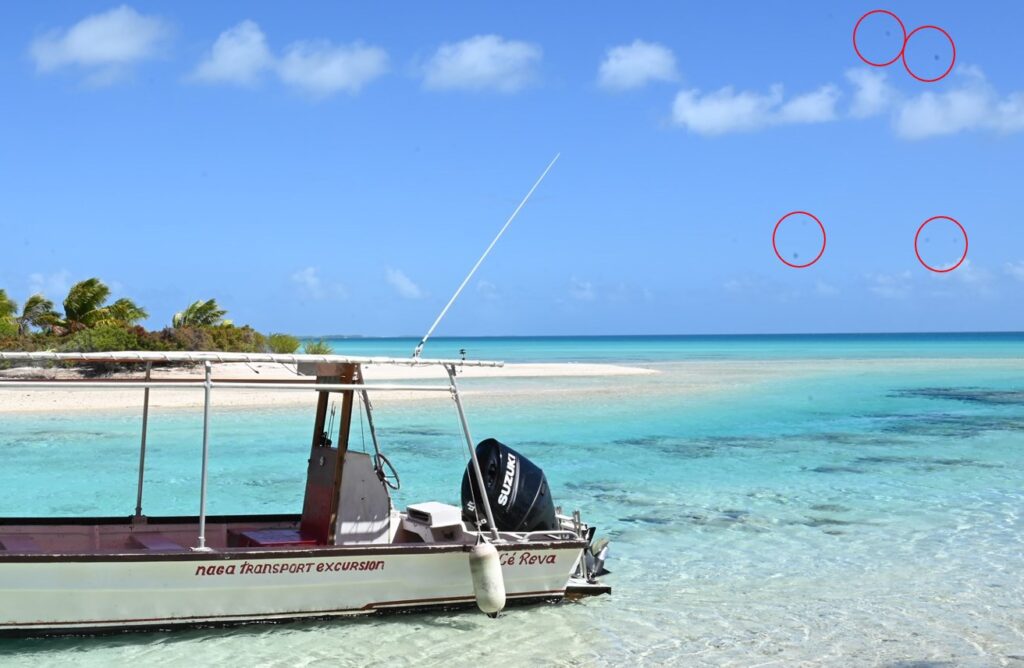
When traveling in the desert, sand can be a formidable enemy for your camera equipment. Make sure to protect your camera from sand grains that could get into the mechanisms. Use a weather-sealed housing or a protective cover to prevent any damage. If there is a lot of wind and very fine sand, tiny grains will likely get in and create black spots on your photos. We use either a plastic bag like Ziploc (giant size) or a homemade cover for more convenience (okay, when we say ‘homemade’, it’s Benjamin’s mom who kindly made the cover…).
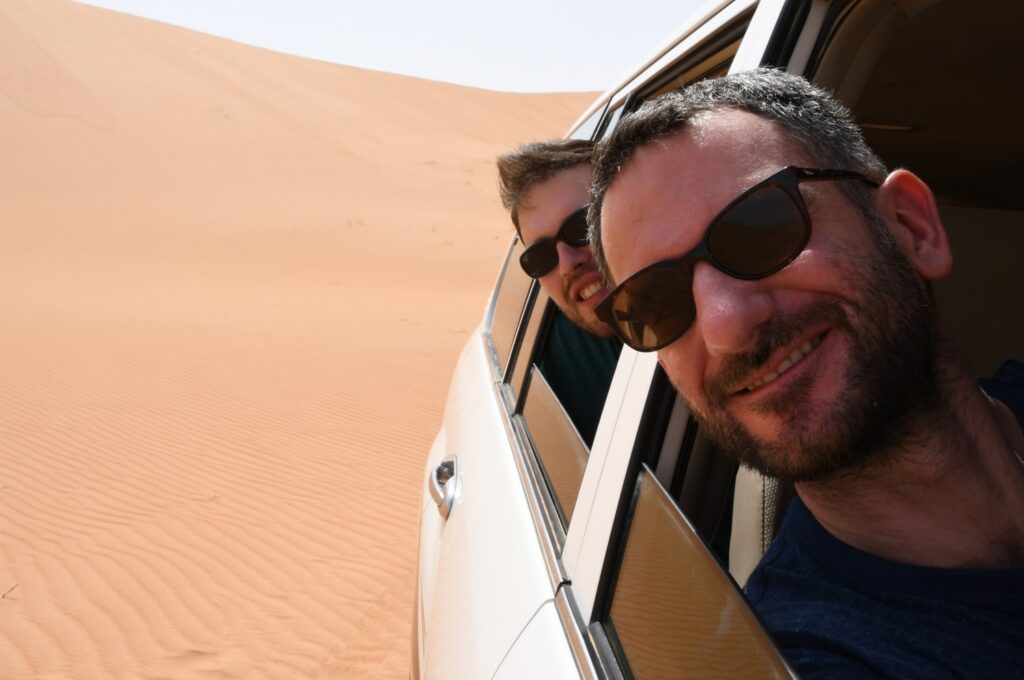

We don’t recommend trying to remove the sand yourself; the process is quite delicate, and it’s better to have your camera handled by a specialist than to risk making it unusable. That’s the mistake we made in Egypt… Back in France, the camera was salvageable, but fortunately, we had a second camera with us; otherwise, we would have missed capturing all the wonders of that country. Plus, the black spots are easy to correct with software. That’s actually the only touch-up we allow ourselves to do on our photos!
A wide-angle lens is often ideal for capturing the vastness of sand dunes or endless beaches. A lens like a 16-35mm will allow you to capture these expansive landscapes.
However, keep in mind that lighting conditions can be extreme in the desert, with strong contrast between sunlit and shaded areas. Master exposure management techniques to avoid overexposure in bright areas and underexposure in darker parts of your photos. It’s the same situation during a safari.
The Giraffe recommends: Choose a weather-sealed camera with a cover to limit sand intrusion. Opt for a wide-angle lens (16-35mm) to capture the expansive sandscapes.
Each type of journey presents unique challenges and opportunities in photography, and choosing the right equipment is crucial to maximize your creativity and image quality.
Remember that practice and getting familiar with your gear are just as important as selecting the equipment. Take the time to learn photography techniques and experiment in the field to continually enhance your skills.
Finally, whether you’re a seasoned photographer or an enthusiastic beginner, keep in mind that the ultimate goal of travel photography is to create memories, share your adventures with the world, and capture the beauty of the world as it is (yes, we staunchly oppose filters and photo retouching!).
So, whether your next trip is an urban exploration, a desert adventure, an underwater dive, or a mountain getaway, your camera will be your faithful companion to immortalize every moment!

